
- #Mac the ripper for windows how to
- #Mac the ripper for windows zip file
- #Mac the ripper for windows portable
Step 10: Type dir for listing all files and folders.

Step 9: The command prompt will open with the current folder. Step 8: Type cmd on as shown in the below image and press enter. Step 6: Cut/Copy these folders and go to C drive, make a new folder named JohnTheRipper and paste these folders into this new folder named John the Ripper. Step 5: Below folders are inside the extracted folder. Step 4: After extraction, a new folder will be seen on the desktop, open it.
#Mac the ripper for windows zip file
Step 3: Now check for the zip file in downloads in your system and extract it. It is a small 21.1 MB file that will hardly take a minute. Downloading of the executable file will start shortly.

Let’s take the one for the 64-bit operating system. Click on the one as per your system configuration. Step 2: There are two options available for windows one is 1.9.0-jumbo-1 64-bit Windows and the other is 1.9.0-jumbo-1 32-bit Windows. You also can share the ripped files to video sharing sites like Youtube, Vimeo, etc.
#Mac the ripper for windows portable
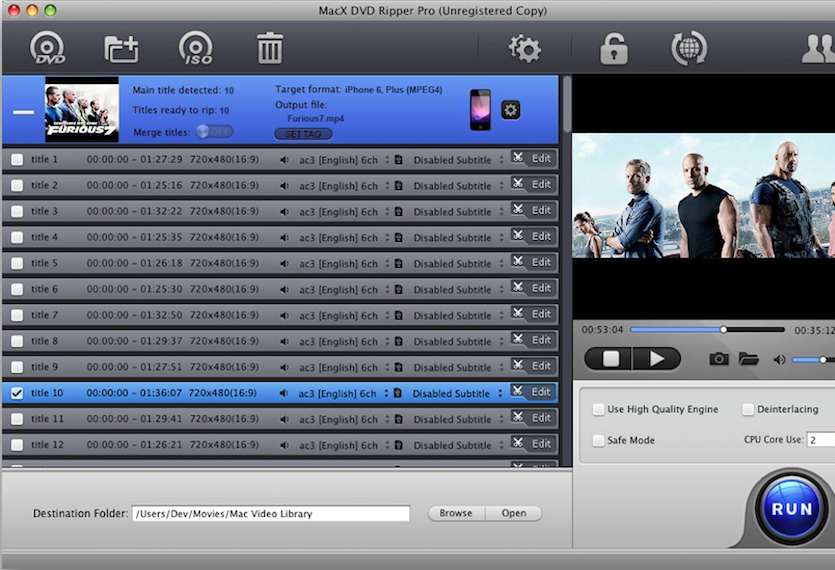
You may rip your desired video clip from DVD and save it in another portable device for later use. Step 1: Visit the official website of John the ripper using any web browser. MacX ripper has the facility of transfiguring your video in most acknowledged formats, including AVI, MP4, MOV, H.264, QT, FLV, and many more.
#Mac the ripper for windows how to


 0 kommentar(er)
